Starting with Word 2007, Microsoft changed the default line spacing on basic documents. Even though we’ve been living with this for a decade now, it can still be frustrating, especially if you’ve never had a reason to change it and suddenly find that you need to, or if you now have the chance to change it once at set it permanently. Here’s how you can set the line spacing however you want. (I’m going to set it to no extra spaces at all.)
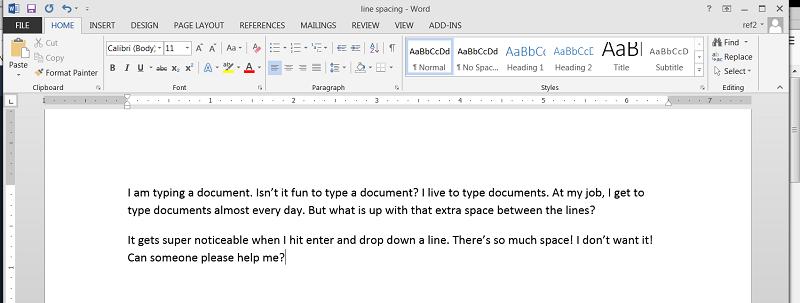
So this is what it’s going to look like if you just start typing a Word document. Note there’s a little more space than you’re used to seeing before the first and second lines, as well as between the third and fourth. But where you really notice the extra line spacing is between lines two and three when I hit the Enter key. Now, if I want a space between lines, I will happily hit the Enter key twice. What I don’t want is this not really a full line, sort of extra space, looks like a mistake happening… thing that Microsoft does by default.
To change all of the spacing in a document you’ve already started, the first step is to highlight all of the text. You can do this a few different ways. You can click, hold, and drag the mouse until everything is highlighted. The other option is to type Ctrl and A at the same time. Once everything is highlighted, you need to get to the line spacing dialog box, which you reach by clicking the tiny arrow in the bottom right of the Paragraph group up at the top of the screen on the Ribbon.
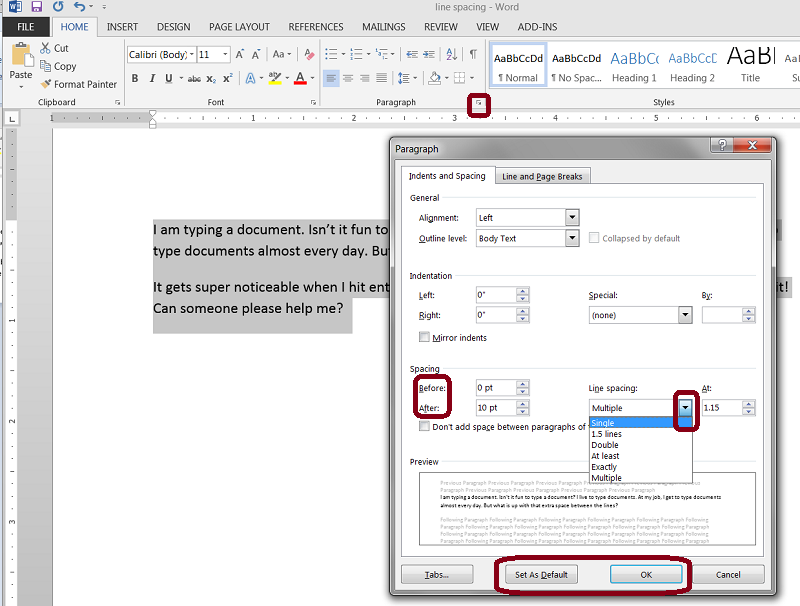
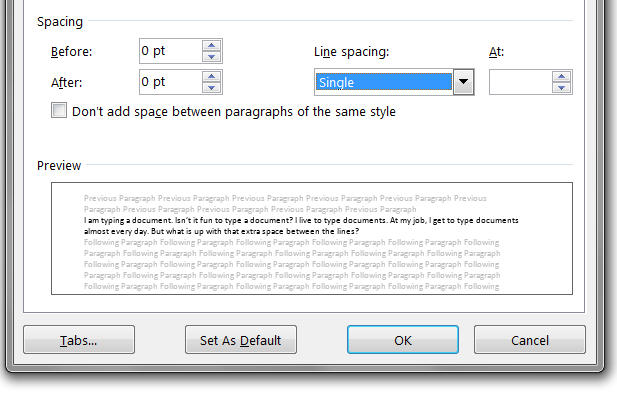
The third section down has the Spacing options. Use the arrows and dropdown menus to change it to what you want. If you want single spacing throughout, make sure Before and After say 0 and Line spacing is Single. Be sure to click OK once everything is set. Also, you can click Set As Default if you want this spacing to be what all of your future Word documents to look like as soon as you start them.
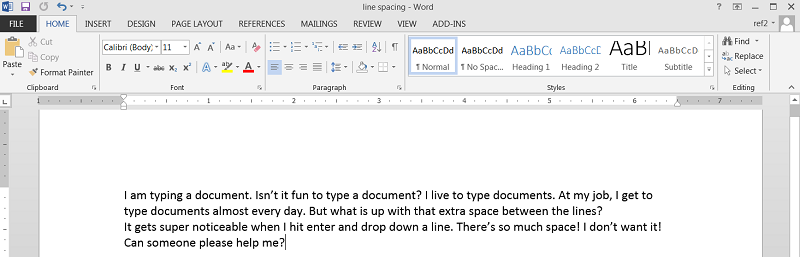
And now you have a single spaced document. Huzzah!
Shelia
Leave a Reply